
Last updated November 17, 2026
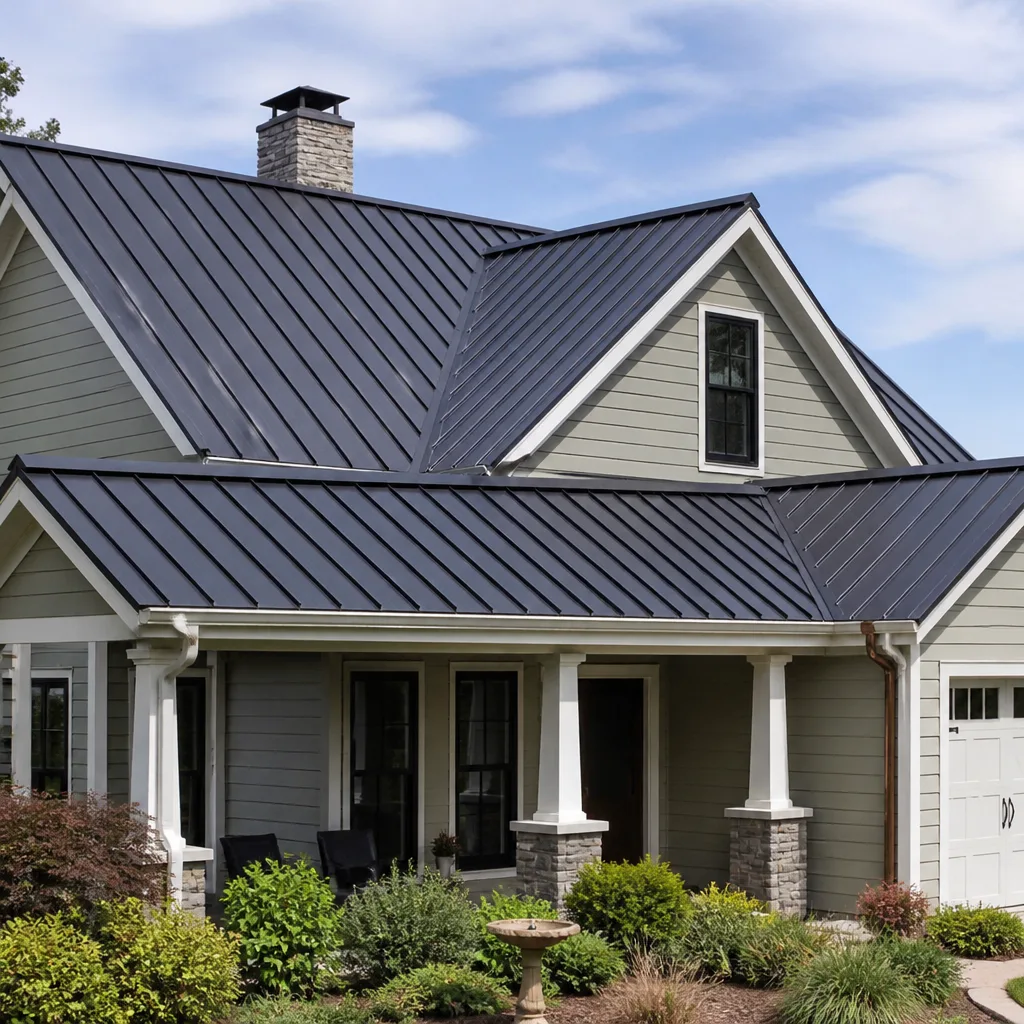 Metal roofing
 Architectural shingles
 Tile roofing
 GAF
 Owens Corning
 Flat & low-slope
Free roof inspection with deck photos before we talk money - GAF and Owens Corning certified installation
Metal Roofing Troubleshooting: Common Problems and How to Fix Them
Nine times out of ten when I get called to a “leaking metal roof” in Paradise, the metal itself is fine. It’s a half-inch gap at a pipe boot that someone caulked instead of properly flashed, and that caulk dried out and cracked inside two Nevada summers. Metal panels are tough. It’s the fasteners, the penetrations, and the transitions where the original crew cut corners that cause nearly every problem I see. This guide walks through the six failure points I run into again and again on Paradise metal roofs, so you can describe what’s actually happening before you call anybody.
Quick Answer
Most metal roof leaks in Paradise trace back to failed sealant at penetrations (pipe boots, skylights), backed-out fasteners from thermal expansion, or corroded flashing at transitions, not the panels themselves. Fixes range from a $150 boot replacement to a $600 flashing rebuild. Panel oil-canning is usually cosmetic. Real structural problems show up as dents that don’t pop back, sagging, or corrosion bleeding at contact points where steel meets copper or aluminum.
Styles & brands we work with
- Architectural shingles
- Metal roofing
- Tile roofing
- GAF
- Owens Corning
- Flat & low-slope
Table of Contents
- The Fastener-Backed-Out Problem
- Pipe Boot and Skylight Penetration Failures
- Panel Oil-Canning: Cosmetic or Not?
- Galvanic Corrosion at Metal-to-Metal Contact Points
- How to Photograph a Metal Roof Problem So You Get a Real Answer
- Ridge, Valley, and Wall Transitions
- Common Mistakes to Avoid
- When to Call a Professional
The Fastener-Backed-Out Problem
Nevada heat does something to metal that other climates don’t. A panel that reads 150°F at 2 in the afternoon can drop to 50°F by 3 in the morning during spring and fall. That daily swing works screws loose the way a washing machine works a zipper. On Paradise roofs I inspect, I find backed-out fasteners on roughly half of all exposed-fastener systems older than eight years. The screws themselves aren’t failing. The neoprene washers underneath are.
Here’s what to check, and what to leave to us:
- Walk the perimeter at eye level. Look along the screw lines. Backed-out screws sit proud of the panel by a sixteenth of an inch or more. You’ll spot them as a shadow line.
- Check under eaves and near the ridge. Those areas see the biggest temperature swings and the most movement.
- Look for rust streaks running down from a screw. That means the washer has failed and water is getting behind the panel.
- Never walk a metal roof yourself to check. Panels are slick, seams flex, and a fall from a 6/12 pitch is a hospital trip. Get a roofer up there who carries a fall harness.
The fix is straightforward: pull the failed screws, replace them with the same gauge and a new EPDM washer, and torque them to spec. It’s not a caulk job. Caulk on a fastener lasts one season in Paradise heat, two if you’re lucky. Our technicians have up to 30 years of experience with this exact repair, and it’s the kind of work we do before it becomes a leak.
Pipe Boot and Skylight Penetration Failures
Every hole you cut in a metal roof is a place water wants in. Plumbing vents, skylights, furnace flues, and satellite mounts are the usual suspects. The good ones are flashed with a lead boot or a proper EPDM collar that slips over the pipe and gets sealed under the panel. The bad ones are caulked and called done. In a Paradise summer, that caulk shrinks, cracks, and pulls away inside two to three years. Then the homeowner calls me about a “roof leak” that has nothing to do with the roof.
What a proper boot looks like versus what a rushed one looks like:
- Proper: A lead or EPDM boot with the base flange tucked under the panel and fastened with screws through the flange, not the pipe.
- Improper: A caulk ring around the base of the pipe, no mechanical flashing, and no sealant under the pipe collar itself.
- Proper: Pipe diameter matches the boot size. A 2-inch pipe has a 2-inch boot, not a 3-inch boot packed with more caulk.
- Improper: Boot base flange sitting on top of the panel with caulk as the only seal, rather than tucked underneath where gravity and the panel protect it.
Replacing a single boot runs $150 to $250 in Paradise, done right. Replacing a skylight flashing at a curb runs $350 to $600 depending on the skylight size. If you’ve got a spot that keeps needing caulk every spring, you don’t have a caulk problem. You have a flashing problem wearing a caulk costume. That’s the conversation worth having, and it’s how we approach roof repair in Paradise.
Panel Oil-Canning: Cosmetic or Not?
Oil-canning is that visible waviness you see running down the middle of a metal panel. It’s named for the way an old oil can would pop in and out when you pressed it, and that’s exactly what it does on a roof. Nine times out of ten, it’s cosmetic. It shows up because the panel was fabricated to a width that flexed during installation, or because the substrate wasn’t perfectly flat, or because the panel was attached slightly off-tension. It doesn’t leak. It doesn’t reduce the life of the panel. It just looks wrong when the light hits it right.
Here’s how to tell the difference without calling anyone up:
- Cosmetic oil-canning: The waves run parallel to the seam, they look consistent along the panel, and the panel is tight to the substrate at the fasteners. The waviness will not change with weather.
- Not cosmetic: The panel feels loose or lifts off the substrate when you press near a seam (don’t press hard). The waves run diagonally. There’s a rattle in wind.
- Not cosmetic: The panel has a dent at a fastener location or the fastener has pulled through the panel itself, rather than backing out cleanly.
A wavy panel from the day it went up is normal for standing-seam in some profiles and for exposed-fastener panels pitched shallow. A panel that started wavy and got wavier over two winters has a substrate or attachment problem underneath. That’s when oil-canning stops being cosmetic. When we sell metal roofing in Paradise, we take a deck photo before we install so you know what the panel went down onto. If a future owner ever questions the waviness, the photo answers it.
Galvanic Corrosion at Metal-to-Metal Contact Points
Put copper next to steel and add a little moisture, and you’ve built a battery. The copper wins, the steel loses, and you’ll see it as pitting, whitish-green residue, or rust bleeding from a joint that looked fine five years ago. Paradise roofs see this most at chimney flashing, where a well-intentioned installer used copper flashing against galvanized steel panels, and at ridge caps where steel and aluminum fasteners meet.
What I look for and how long it takes:
- Copper flashing on steel: The first signs (white residue, minor pitting) show up around year 5 to 7. The steel under the copper will be visibly eaten away by year 10. It happens faster in wet years.
- Galvanized steel and aluminum: Aluminum washers on steel screws, or aluminum vents on steel panels, will corrode the aluminum side within 3 to 4 years. You’ll see a powdery white deposit around the fastener.
- Steel nails in copper valleys: Rare, but occasionally installers will use steel in copper work. The nail disappears. The copper survives.
The fix isn’t complicated. The right flashing material is the same or an electrochemically compatible metal as the panel. For steel panels, that’s galvanized or painted steel, or a properly isolated copper with a neoprene or EPDM separation tape between the two metals. Every job we run gets a written 90-Day Done Right Promise, and if a joint starts bleeding corrosion inside that window, one call brings me back out. It’s the kind of thing a warranty is for.
How to Photograph a Metal Roof Problem So You Get a Real Answer
This is the piece nobody talks about, and it’s the one that saves you the most money. The vast majority of “roof leak” calls can be narrowed to a fix or ruled out over the phone if the homeowner sends three useful photos. If the photos are unusable, I have to come out anyway, and you get a mandatory visit instead of a working estimate.
Here’s the routine that gets you the right answer:
- Shoot from inside first. In the attic or at the ceiling stain, take a wide shot (shows the whole area) and a close shot (shows exactly where water first appeared). Include a light source. A photo of a dark ceiling stain tells nobody anything.
- Trace from the stain up-and-outward, not straight up. Water almost never runs straight down on a metal roof. It runs along the panel underside, along purlins, and sideways to the low point. Photograph every penetration within 10 feet of the interior stain.
- Get a ground-level shot of the roof area above the stain. Wide-angle, full sun, standing back far enough to see three or four panels plus the ridge or valley. A close-up of one fastener tells me nothing about position.
- Photograph every pipe, vent, skylight, chimney, and satellite mount in that area. Those four penetration types cover 80 percent of the leaks I see in Paradise.
- Note the weather when it leaks. Only in windblown rain? Only after snowmelt? Only overnight? The pattern narrows the problem faster than any photo.
Send those five items before anyone drives out, and you’ll get a real number in return instead of “we’ll need to come look.” We offer a Free Second Opinion on any written estimate, so if another outfit already quoted you a full replacement off a single photo of a stain, send us what they sent you. That’s a fair conversation to have.
Ridge, Valley, and Wall Transitions
Transitions are where roofs leak, and metal roofs are no different. The three that fail most in Paradise: the ridge line, the valley where two panels meet, and the wall-to-roof tie-in where an addition or chimney meets the shed roof. Every one of them is a place where water concentrates or gets wind-driven sideways under the panel edge.
What I check on each:
- Ridge cap: The cap should overlap the panels by at least 3 inches each side, with a proper closure strip beneath it. A ridge that’s screwed down but has no closure strip lets in wind-driven rain and insects. In a wash from a Paradise monsoon, water can travel 6 inches horizontally.
- Valley: The valley pan should be minimum 24-gauge steel or equivalent, with panel ends cut clean and hemmed. If the panels were lapped across the valley instead of cut into a proper pan, spring runoff will find the lap within 2 years.
- Wall-to-roof tie-in: There should be a proper kickout flashing and a metal counterflashing that overlaps the panel by 4 inches minimum, caulked only at the very top edge where the counterflashing tucks into a reglet. Caulk alone at a wall tie-in is a 2-year fix. It needs mechanical flashing underneath.
These transitions cost $250 to $600 to rebuild individually. When we quote roof replacement and installation in Paradise, the transitions are line-itemed in writing, so you can see exactly what’s being done at each one. Fixed pricing, no change orders.
Common Mistakes to Avoid
- Caulking a leaking pipe boot instead of replacing it. It works for one season, tops, in Paradise heat. By the time the caulk fails a second time you’ve spent more than the boot replacement would have cost, and you may have water damage inside.
- Mixing copper and steel in different projects on the same roof. If one section gets a copper chimney flashing and later repairs use galvanized valley material, you’ve built two batteries instead of one. Know what metal is on your roof before adding to it.
- Assuming oil-canning means a bad install. Some waviness is normal for the profile. Calling a contractor over it costs you money and tells you nothing. Check the waves first (parallel to seam, consistent, tight at fasteners) before you pick up the phone.
- Patching a backed-out screw with a bigger screw. Oversized screws strip the panel and cause more leaks than they fix. The right repair is a properly sized replacement screw with a new EPDM washer.
- Trusting any bidder who quotes from the ground. Ask any bidder how many squares they counted. If they can’t answer without walking the roof, they haven’t measured, and the price is a guess. A roof is measured in squares, and a real number requires a real count.
- Paying up front for a metal roof from someone with no local footprint. Storm chasers come through after hail and vanish. Same address since 1996. Ask the storm chasers where theirs is.
- Skipping the attic inspection after a leak. Water finds sheathing and insulation next. The metal roof repair is the cheap part. Rot underneath is where the bill grows.
See the difference
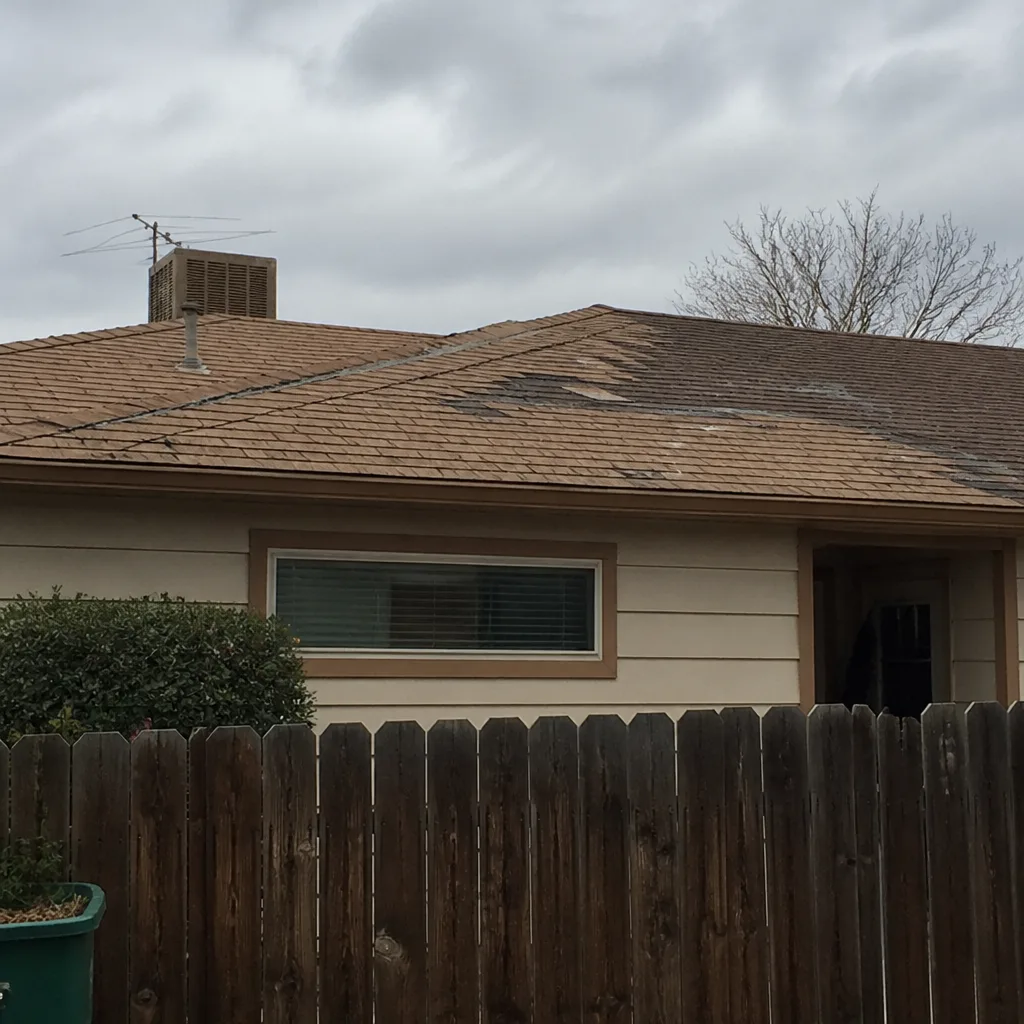 Before
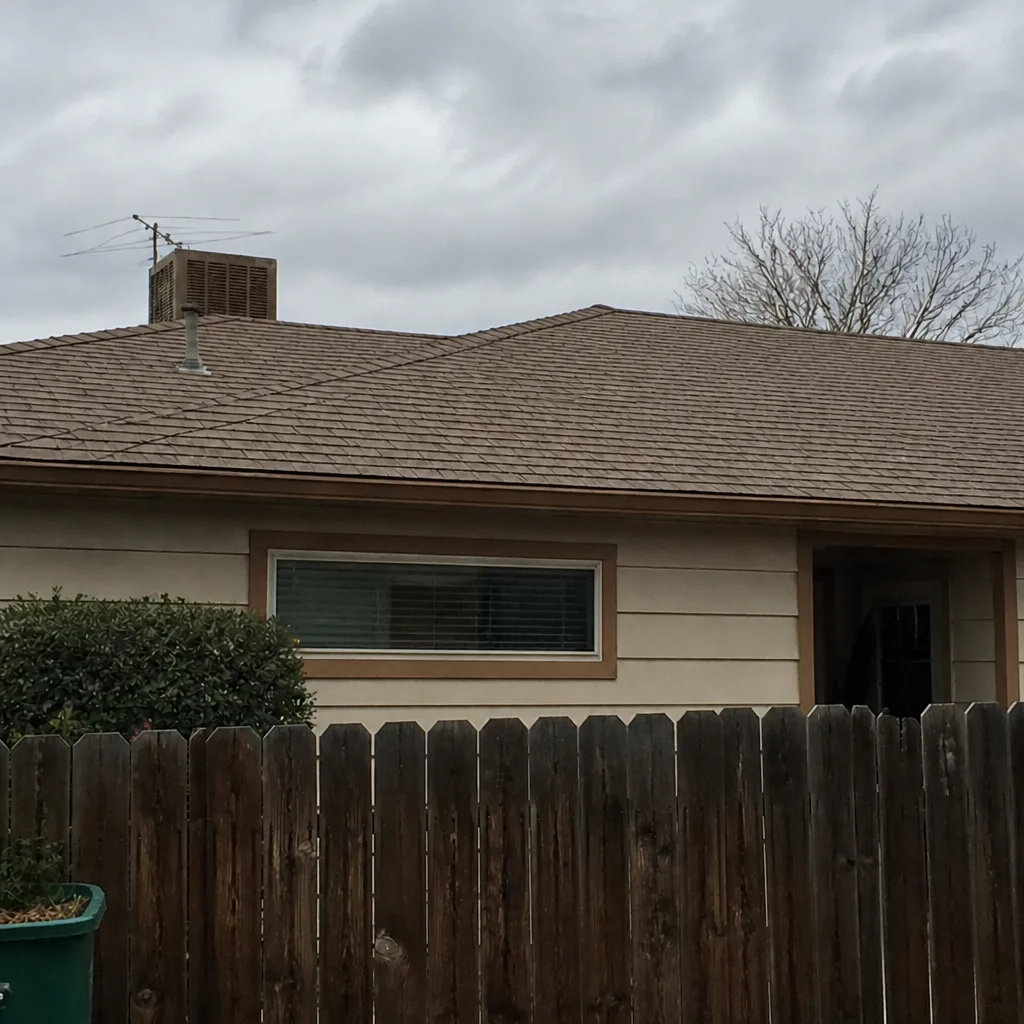 After
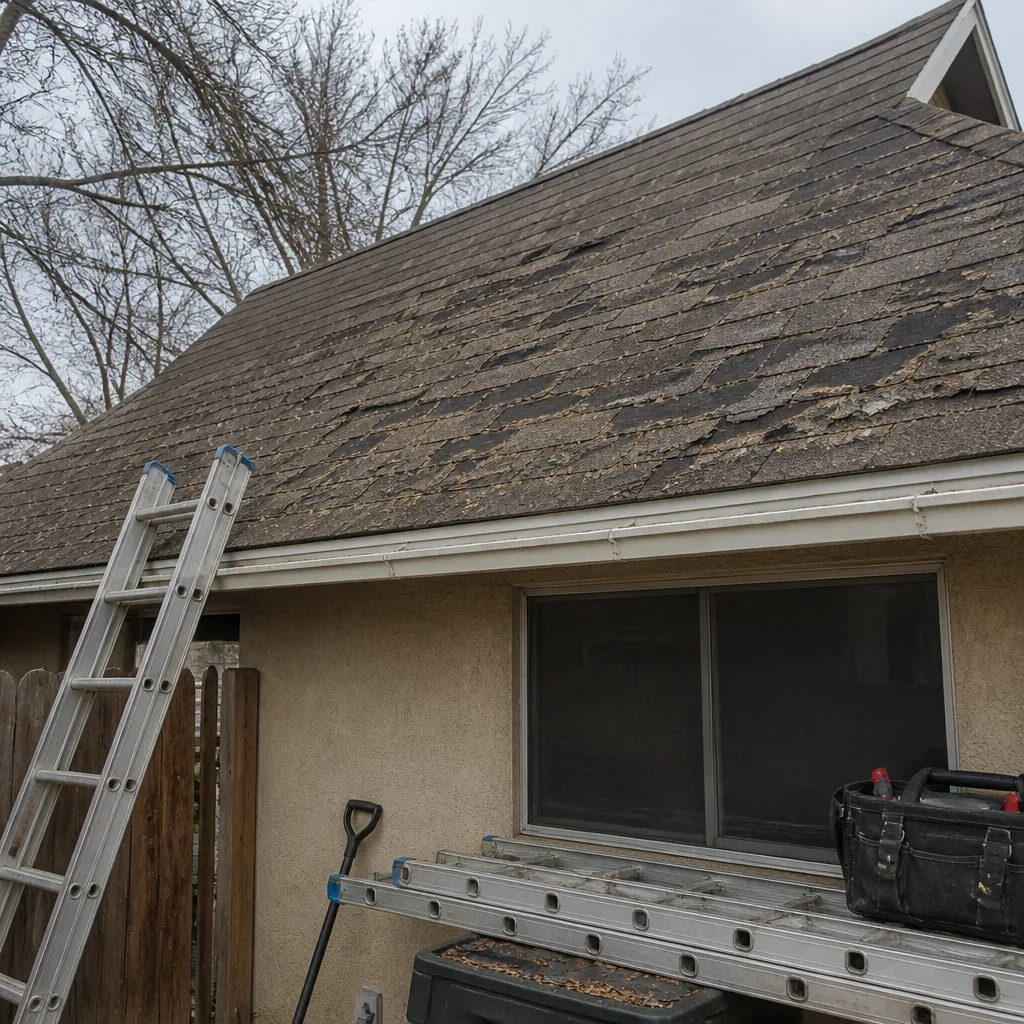 Before
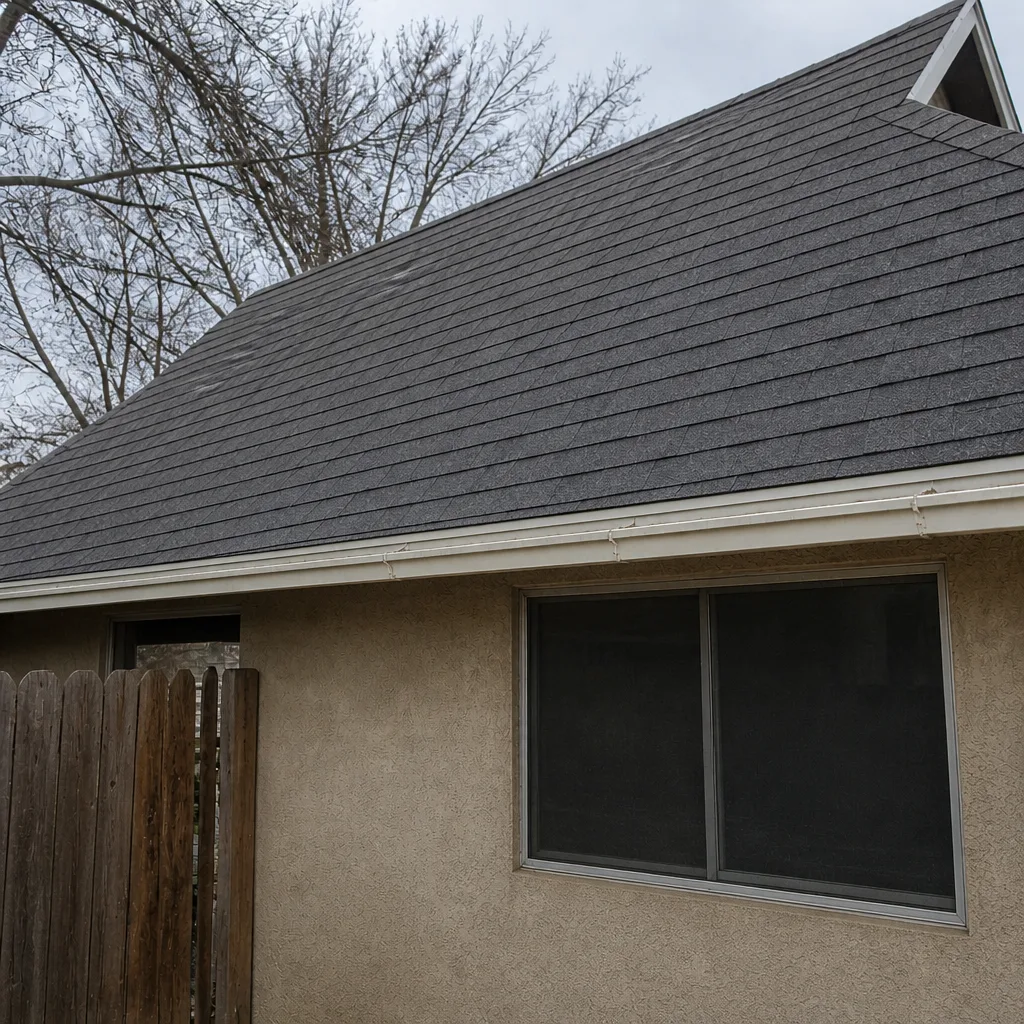 After
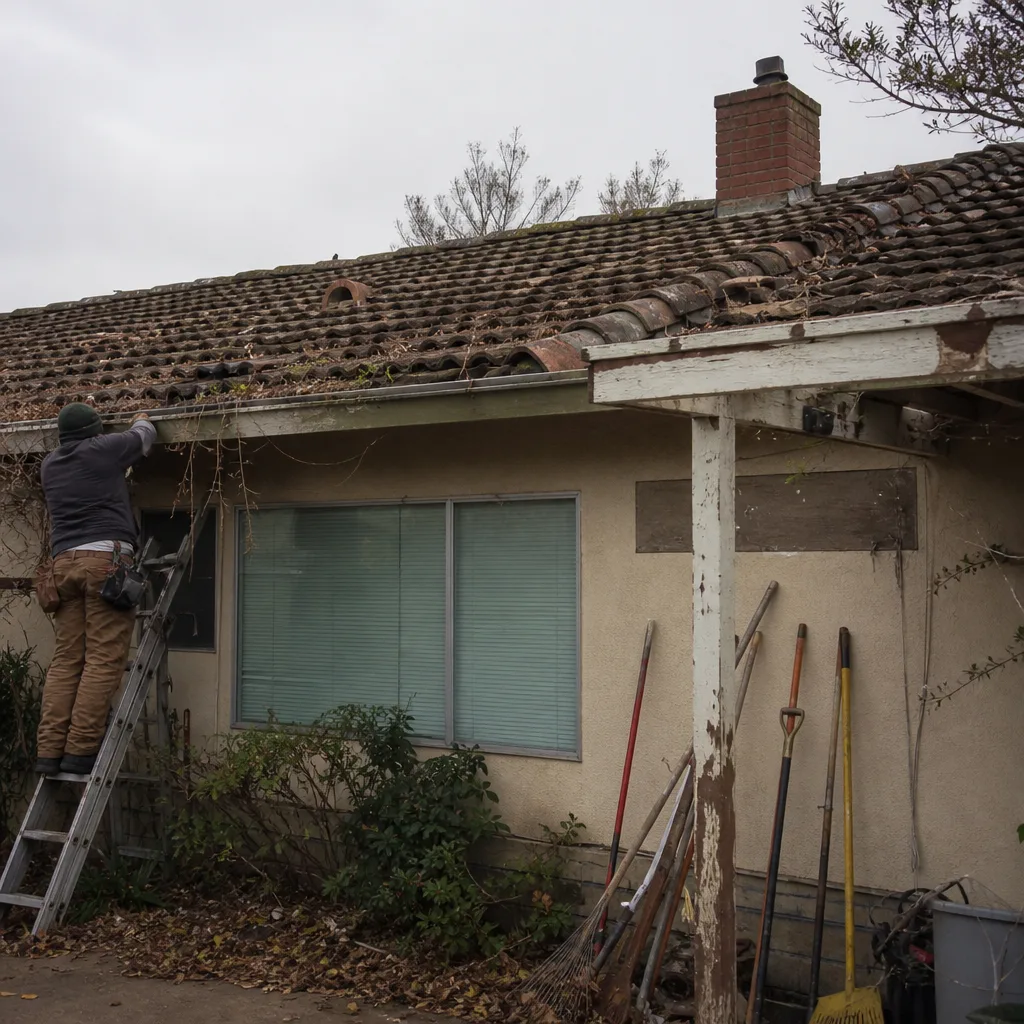 Before
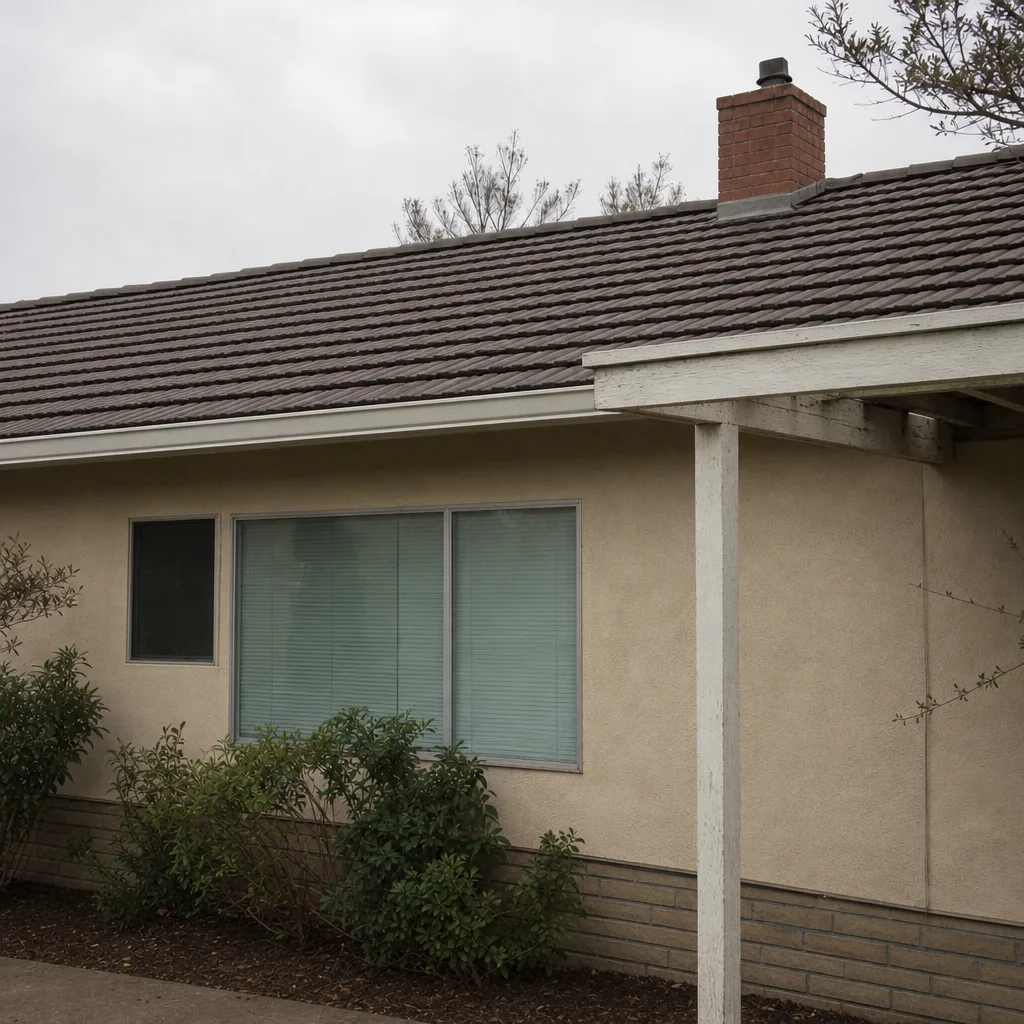 After
When to Call a Professional
Call for help when: you see a leak at any penetration you can’t reach safely; when a fastener line is backing out across an entire panel; when you suspect galvanic corrosion at a metal-to-metal joint; when a skylight or chimney flashing is involved; and whenever the problem is at a transition like the ridge, valley, or wall tie-in. Metal roofs are slick, seams flex, and every year we hear about a homeowner who tried a solo inspection and spent a week in the hospital. That’s not a job for a Saturday ladder.
Call for a real quote when: a previous bidder quoted a full replacement off one photo of a ceiling stain and no attic inspection, when a roof leak keeps coming back after two caulk jobs, or when you simply want a second set of eyes on a written estimate. Shepherd & Sons Roofing Paradise offers free estimates in Paradise and a Free Second Opinion on any written estimate. Call (833) 676-0557 for your free estimate.
Frequently Asked Questions
Most metal roof leak repairs in Paradise run $150 to $600 depending on what’s actually failed. A single pipe boot replacement is roughly $150 to $250. A skylight flashing rebuild is $350 to $600. A ridge, valley, or wall transition rebuild is $250 to $600. Leak diagnosis and minor fastener replacement typically lands under $200. Call (833) 676-0557 for an exact quote – estimates are free, and we don’t charge a trip fee inside our own county.
No, in most cases oil-canning is purely cosmetic. Visible waviness that runs parallel to the seam and stays consistent along the panel is normal for many profiles and doesn’t cause leaks or shorten the roof’s life. The exception is if the waves run diagonally, the panel rattles in wind, or a fastener has pulled through the panel rather than backing out cleanly. Those point to a substrate or attachment problem underneath, and that’s when it needs eyes on it. Call (833) 676-0557 and we’ll talk it through before you book anything.
Thermal expansion is the reason. In Paradise, roof panels can swing 100°F between afternoon and overnight, and that daily cycle slowly works screws loose over several years. The screws themselves are fine; the neoprene washers underneath dry out and compress, and the screw loses its torque grip. The fix is replacement screws with new washers torqued to spec, not oversized screws and not caulk. Any bidder who says caulk is the fix is selling you a two-year repair.
Same or electrochemically compatible metals can touch safely. Steel with galvanized steel is fine. Copper with copper is fine. What fails is copper against steel, aluminum against steel, and steel fasteners against aluminum panels. If you need to join dissimilar metals, a neoprene or EPDM separation tape between the two will stop the galvanic reaction. If you’re not sure what metal you have, call (833) 676-0557 – we can usually tell from a photo.
For any penetration or transition, call. Pipe boots, skylights, ridge, valley, and wall tie-ins all need mechanical flashing underneath the panel, not surface caulk, and that’s not a weekend homeowner fix. Small cosmetic touch-ups like replacing a fastener on the ground-accessible edge are fine to try. Anything above 6 feet up, or anything that’s actually letting water in, is a call. We’ve had 30 years’ worth of experience watching DIY caulk jobs turn into $4,000 rotted deck repairs.
Age, rust coverage, and how many penetrations are failing at once. If the roof is under 20 years old with a handful of failed fasteners or one bad boot, repair is the smart call. If rust is pitting through panels across more than 20 percent of the roof, or if a dozen penetrations are failing across different sections, replacement typically comes out ahead on cost per year. Boral, GAF, CertainTeed, and Owens Corning metal systems are what we see most around Paradise, and all of them hold up when they’re installed right. Call (833) 676-0557 and we’ll give you an honest read on repair versus replace. That’s the conversation, not the sales pitch.
The Bottom Line
Metal roofing fails at the weak points, not the metal. Backed-out fasteners from thermal cycling, caulked-over penetrations that should have been flashed, oil-canning that’s cosmetic in one case and structural in another, and galvanic corrosion at metals that should never have touched. If you can photograph a problem accurately and describe the pattern (only in wind-driven rain, only after snowmelt), you’ll get a real number on the phone instead of a mandatory visit. When it needs eyes on it, we’re a local Paradise roofer with a license number you can look up and an address you can drive by. Every job gets the written 90-Day Done Right Promise, and every call gets a real person on the line.
Call (833) 676-0557 for a free estimate. We’re proud to be your neighbor and to put our name on the work.
Written by the team at Shepherd & Sons Roofing Paradise.